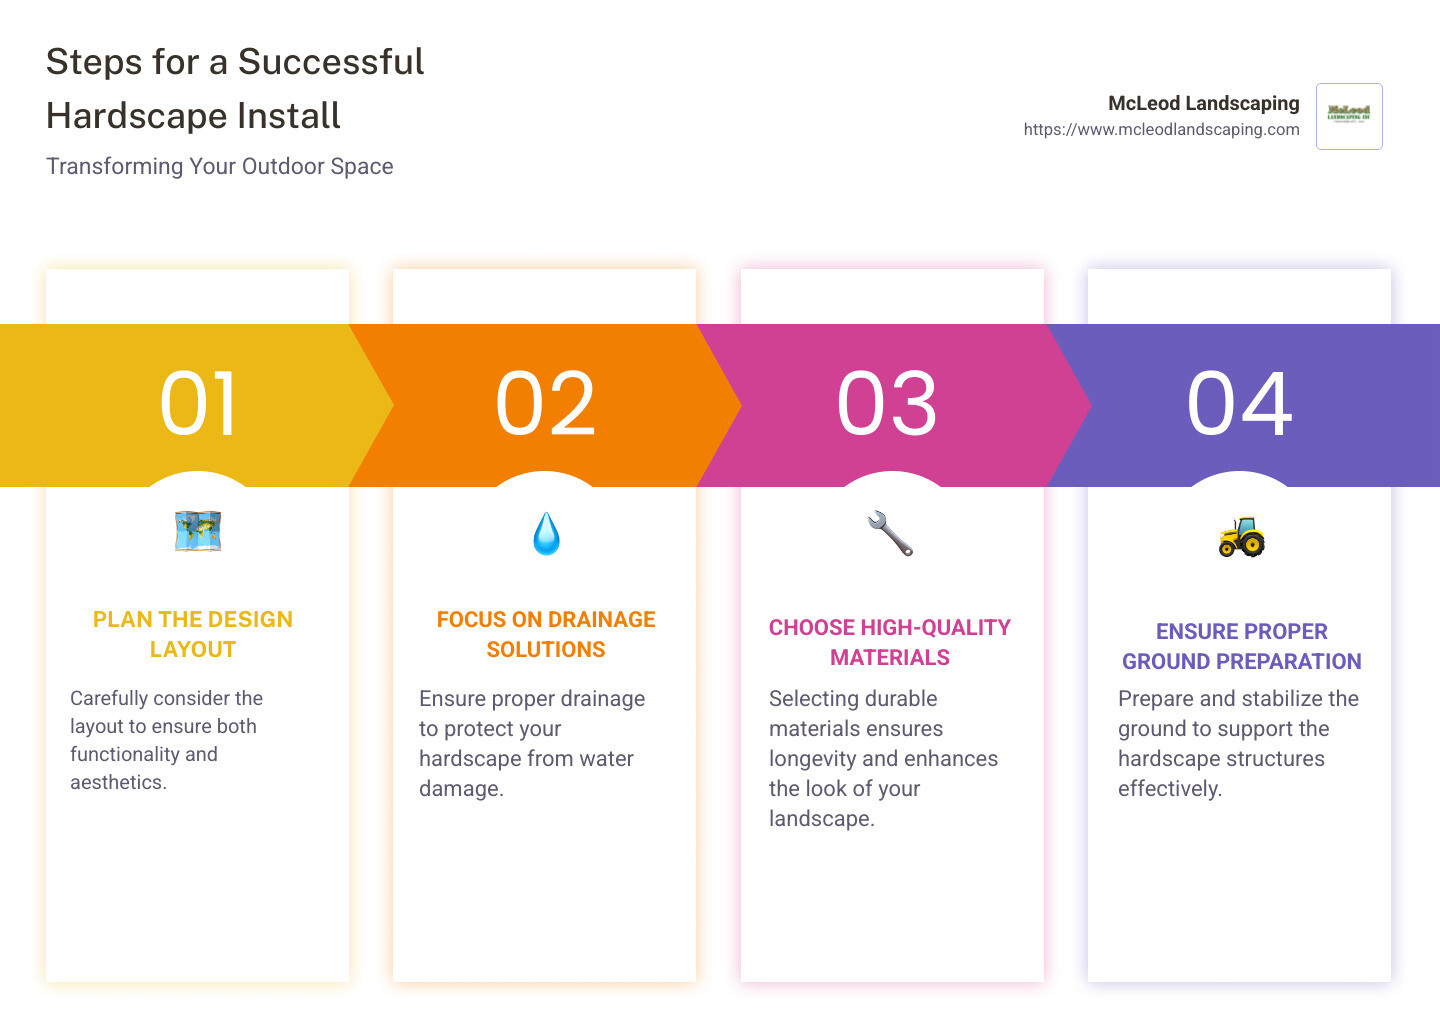
Hardscape install is your gateway to changing any outdoor space into a functional and beautiful extension of your property. If you’re looking to improve your landscape with durable features like patios, walkways, or retaining walls, a well-executed hardscape install is essential. Here are the quick steps to keep in mind:
Hardscaping is more than just laying stones; it’s about integrating aesthetic and practicality into your landscape design. As Samuel Salsbury from the Association of Professional Landscape Designers says, careful planning is crucial because hardscape elements are permanent and should last for years. By marrying hardscaping with landscaping, you create an engaging outdoor environment that reflects balance and beauty.
I’m Scott McLeod, and with over 30 years in the landscaping industry, I’ve guided countless clients through hardscape install projects with McLeod Landscaping. My experience ensures that each installation is not only functional but also harmoniously blends with the surrounding landscape.
Hardscape install terms explained:
– hardscape installation services
– landscape and hardscape design
– hardscape maintenance service
Before you dive into your hardscape install, it’s crucial to prepare your ground properly. This sets the stage for a durable and visually appealing project. Let’s break down the key steps and tools you’ll need.
Ground Preparation and Vegetation Removal
Essential Work Gear
Hardscaping is hands-on and can be messy. Equip yourself with:
These items will keep you safe and comfortable as you work.
Measuring and Compacting Tools
Accurate measurements and a solid base are the foundation of any successful hardscape project.

Get Ready for Material Delivery
Once your ground is prepped, think about where to place your materials for easy access during the installation. Arrange a convenient drop site for materials, especially if they’re coming by semi-truck.
By preparing thoroughly and having the right tools, your hardscape install will be off to a smooth start. Next, we’ll guide you through the step-by-step installation process, ensuring your project not only looks great but stands the test of time.
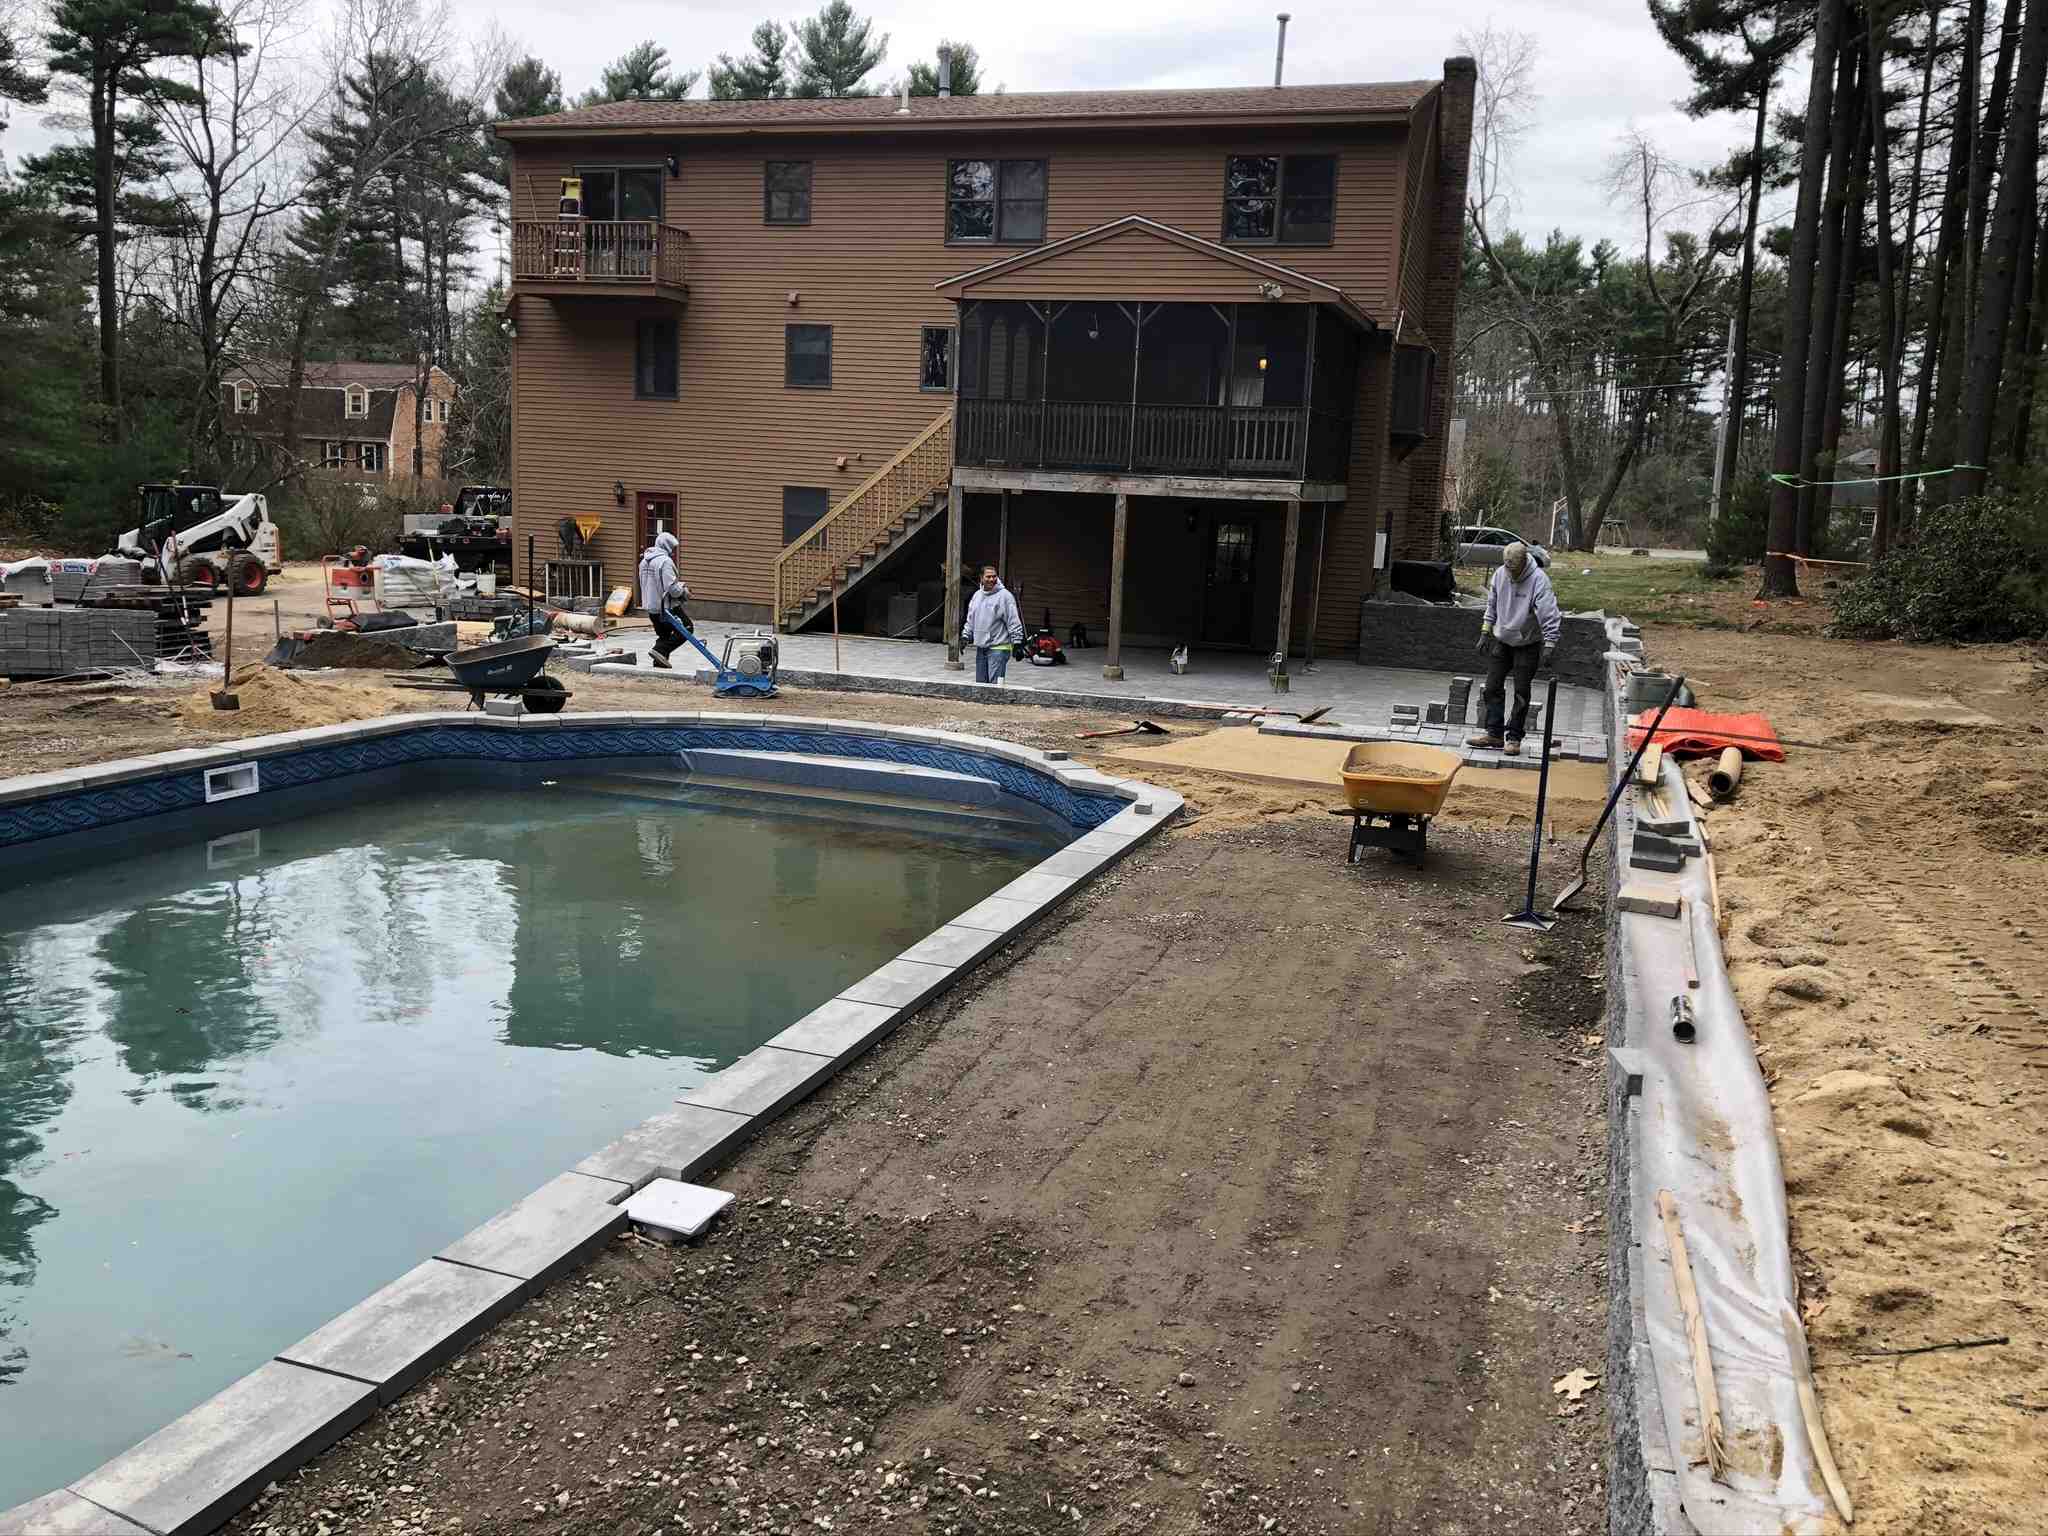
To kick off your hardscape install, you’ll first need to prepare the patio area. This involves several important steps to ensure a solid foundation and a smooth installation process.
Begin by removing all grass and topsoil from your designated patio area. This step is crucial because any organic material left under your hardscape can decompose and cause uneven settling. Use a spade and shovel for this task, and aim to clear at least 6-8 inches of soil to accommodate the gravel base and sand layers.
Define the boundaries of your patio using marking paint. This helps you visualize the area and maintain straight lines during installation. Drive garden stakes into the ground just outside these markings and attach a mason’s line. This line will serve as a guide for leveling and slope adjustments.
Ensure your patio slopes away from any structures, like your house, to facilitate proper drainage. A slope of about 1 inch for every 8 feet is recommended to prevent water pooling.
Once the area is cleared and marked, spread a 4-inch layer of gravel across the entire space. This gravel base provides stability and aids in drainage. Use a landscape rake to distribute the gravel evenly, then compact it using a hand tamper or a plate compactor. Lightly wet the gravel with a garden hose to help it settle firmly.
With your gravel base in place, it’s time to add and level the paver sand. This layer acts as a cushion for the paver stones and helps with leveling.
Place lengths of electrical conduit on top of the compacted gravel. These conduits act as guides or “tracks” for leveling the sand. Pour the sand over and between the conduits, ensuring an even distribution.
Drag a 2×4 board across the conduits to smooth out the sand layer. This technique is known as screeding. Check your work with a level to ensure the sand is flat and even. Once satisfied, carefully remove the conduits and fill the gaps with additional sand, smoothing them out as you go.
Be cautious not to step on the leveled sand, as this can create dips that require re-leveling. Work methodically to avoid disrupting the surface.
By carefully preparing the patio area and carefully adding the leveling sand, you’ll set a strong foundation for your hardscape project. Next, we’ll dive into the exciting phase of placing the paver stones, bringing your outdoor vision to life.
Creating a successful hardscape design involves more than just laying stones or bricks. It’s about crafting a space that is both visually appealing and functional. Here are some key elements to consider:
Visual Interest
To make your hardscape stand out, incorporate features that catch the eye. Think about using curves instead of straight lines for walkways or patios. Curved designs can blend more naturally with the landscape, creating a softer, more inviting look. You might also consider adding a focal point, like a sculpture or an ornamental tree, to draw attention and add depth to the space.
Outdoor Functionality
Your outdoor space should not only look good but also serve a purpose. Consider how you plan to use the area. Will it be a place for dining, relaxing, or entertaining? This will help determine the features you need, such as seating areas, fire pits, or outdoor kitchens. Functionality is key, so think about how each element will be used and how they work together to create a cohesive space.
Adding custom-built features can improve both the aesthetic and functional aspects of your hardscape. For example, a custom-built fire pit can serve as a warm gathering spot on cool evenings. Outdoor kitchens can expand your living space, making it easier to entertain guests. Custom features allow you to tailor the design to your specific needs and preferences, ensuring that your hardscape is as unique as you are.
Patios
Patios are the heart of many hardscape designs. They provide a solid, flat surface for furniture and activities. When designing a patio, consider the materials that best fit your style and climate. Options include natural stone, brick, or concrete pavers, each offering different looks and maintenance levels.
Retaining Walls
Retaining walls are not only functional but can also be a beautiful addition to your landscape. They help manage soil erosion and create usable flat spaces on sloped areas. Materials like stone or concrete blocks are popular for their durability and aesthetic appeal. A well-constructed retaining wall can also serve as a seating area or a planter bed.
Fire Pits
A fire pit adds warmth and ambiance to your outdoor space. It’s a natural gathering place for family and friends. When designing a fire pit, consider its placement and the materials used. Stone or brick can complement the rest of your hardscape, creating a seamless look. Ensure safety by choosing a location away from flammable structures and materials.
Outdoor Kitchens
For those who love to cook and entertain, an outdoor kitchen is a must-have. It extends your home’s living space and makes outdoor dining convenient. Equip your kitchen with essentials like a grill, sink, and refrigerator. Choose durable materials that can withstand the elements, ensuring longevity and ease of maintenance.
By incorporating these elements into your hardscape design, you’ll create a space that is not only beautiful but also functional and enjoyable. Next, we’ll address some frequently asked questions about hardscape installation to help you plan your project with confidence.
Hardscape installation involves creating the solid, non-living elements of your outdoor space. Think of patios, walkways, retaining walls, and outdoor kitchens. These features define the structure and functionality of your landscape, offering both aesthetics and practical benefits.
When considering whether hardscape is cheaper than concrete, it’s important to look at various factors such as materials, labor expenses, and long-term value.
Preparing your property for hardscape installation is crucial to ensure a successful project. Here’s a quick guide to get you started:
By understanding these elements, you can better plan your hardscape install and create a stunning outdoor space that meets your needs.
At McLeod Landscaping, we believe that a well-designed hardscape is more than just an addition to your home—it’s an extension of your lifestyle. With over 30 years of experience, we proudly serve the Merrimack Valley, offering comprehensive services that transform your outdoor spaces into functional and beautiful environments.
Our team specializes in a wide range of hardscaping services, from patios and fire pits to outdoor kitchens and retaining walls. Each project is custom to fit your unique vision and the specific needs of your property. We ensure every detail is perfect, from the initial design to the final installation.
Choosing McLeod Landscaping means partnering with experts who care about quality craftsmanship and customer satisfaction. We are committed to using sustainable practices and materials that improve the beauty and longevity of your landscape.
Whether you’re looking to create a cozy patio for family gatherings or an neat walkway that adds curb appeal, we are here to bring your hardscaping dreams to life. Explore our hardscaping services to see how we can make a difference in your outdoor space.
Let us help you craft an outdoor area that not only meets your needs but also becomes a cherished part of your home. Contact us today to start your journey toward a stunning and functional landscape that you and your family will enjoy for years to come.
Contact McLeod Landscaping today at (978) 640-0957 or click here to schedule a consultation for retaining wall installation. Let our experienced team design and install a functional and visually appealing retaining wall that enhances your landscape.

1881 Main St Unit 1, Tewksbury, MA 01876