How do I build a retaining wall with landscape timbers? If you’re looking to transform your outdoor space with a sturdy and cost-effective solution, a timber retaining wall might just be the perfect project. Using landscape timbers can offer both a practical and visually appealing method to control soil erosion and create useful space on sloped terrain. To build a retaining wall with landscape timbers:
Building a timber retaining wall isn’t just about practicality; it’s about enhancing the aesthetics and value of your property. These walls can be adapted to a variety of designs, offering both functionality and beauty.
My name is Scott McLeod, and with over three decades of experience in the landscaping industry, I specialize in outdoor changes that meet both aesthetic and structural needs. The process of how do I build a retaining wall with landscape timbers is an area where I bring expertise, ensuring each project is both beautiful and durable.
Relevant articles related to how do i build a retaining wall with landscape timbers:
– landscape timber retaining wall
– landscape retaining wall ideas
– landscape retaining walls
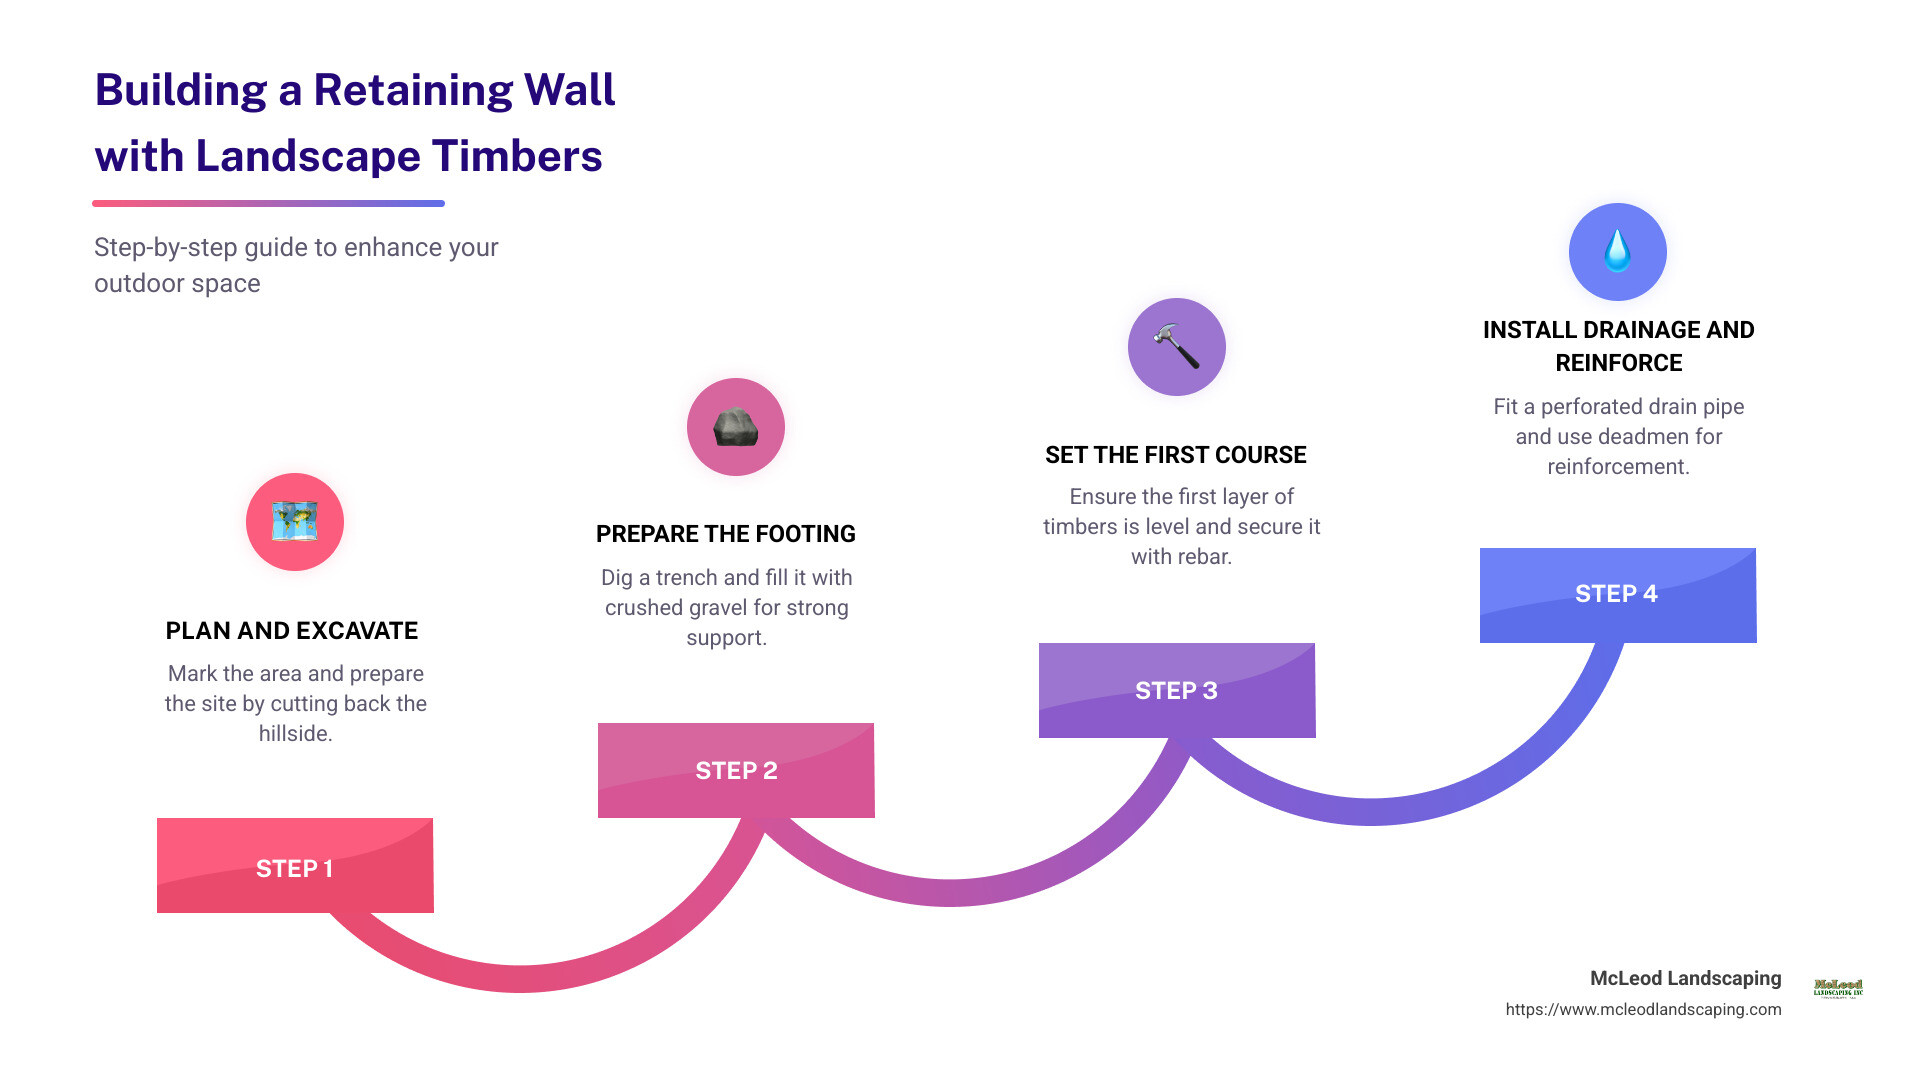
Before you start building your timber retaining wall, careful planning is essential. This step ensures your project is not only durable but also visually appealing and functional. Here’s how to get started.
First, you need to determine exactly where you want your retaining wall. Use marking paint to outline the area. This paint helps you visualize the wall’s placement and guides excavation. Ensure your layout is precise, as it sets the foundation for the entire project.
Once your layout is marked, it’s time to excavate. If your wall is going to be 3-4 feet or taller, you’ll need to cut out a level spot for the wall and remove soil from the hillside. This means digging back as far as your wall is tall. For instance, a 4-foot wall requires cutting 4 feet back into the slope. For smaller projects, a shovel might suffice, but larger projects might require machinery like a mini excavator.
Excavation isn’t just about digging a trench; it’s about preparing the hillside to ensure stability and support for your wall. The hillside should be cut back to prevent soil from pushing against the wall, which could lead to failure. This step is crucial for structural integrity.
By carefully planning and executing these steps, you set a strong foundation for your retaining wall. With the right layout and excavation, your wall will not only stand the test of time but also add beauty and functionality to your landscape.
Next, we’ll dig into How to Build a Retaining Wall with Landscape Timbers, starting with preparing the footing.
The first course of timbers is the backbone of your retaining wall. It needs to be perfectly level and secure to ensure the entire structure remains stable over time.
Footing Preparation
Start by digging a trench for the footing. The trench should be at least 16 inches wide and deep enough to accommodate 6-8 inches of compacted crushed gravel. This gravel acts as a solid base, ensuring your wall remains level and stable.
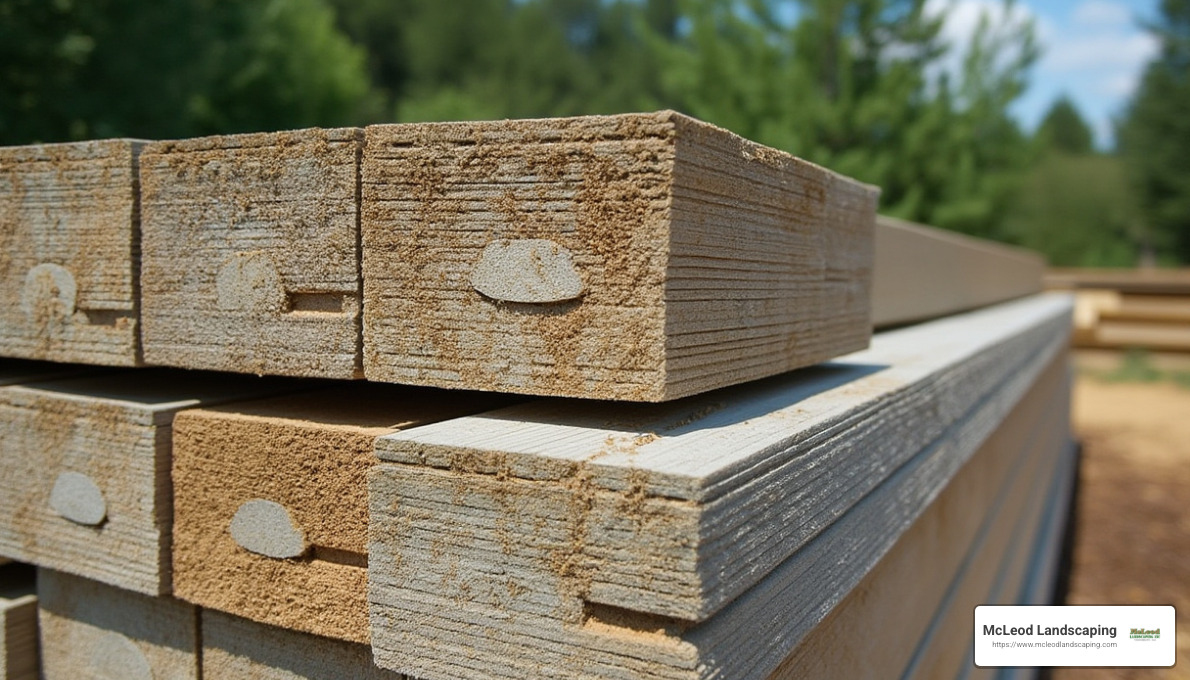
Placing the Timbers
Once your footing is ready, lay the first course of timbers. This course will be partially buried, so ensure it sits flush with the finished grade.
Take your time with this first course. A well-laid foundation simplifies the rest of the project and improves durability.
Proper drainage is essential to prevent water buildup behind your retaining wall. Water can saturate the soil, putting pressure on the wall and leading to failure. Here’s how to install an effective drainage system:
Perforated Drain Pipe
Place a 4-inch perforated drain pipe behind the first course of timbers. This pipe should lead out to daylight, allowing water to escape freely.
Filter Fabric
Install non-woven filter fabric below the pipe and up the back of the hillside. This fabric prevents soil and silt from clogging the drainage area.
By securing the first course and setting up an efficient drainage system, you’re well on your way to constructing a reliable retaining wall. Next, we’ll explore reinforcing the wall with deadmen and tiebacks for added structural integrity.
Building a retaining wall with landscape timbers is a great way to create a sturdy and attractive outdoor feature. But to ensure it stands strong against time and the elements, reinforcement is key. This is where deadmen and tiebacks come into play, offering essential support and structural integrity to your wall.
Deadmen are like the unsung heroes of your retaining wall. These are T-shaped structures made from timbers that extend into the soil behind the wall, providing much-needed stability. By anchoring the wall to the solid ground, deadmen help resist the outward pressure exerted by the soil.
Tiebacks work hand in hand with deadmen to improve the structural integrity of your retaining wall. These horizontal supports extend from the wall into the hillside, helping to hold everything in place.
Reinforcing your wall with deadmen and tiebacks is crucial for maintaining its strength and stability. Without these supports, the wall could eventually lean or collapse due to soil pressure.

By incorporating these reinforcement techniques, you greatly increase the lifespan and durability of your timber retaining wall. With deadmen and tiebacks in place, your wall will stand firm against the forces of nature, ensuring a lasting addition to your landscape. Next, we’ll explore fastening techniques and finishing touches to complete your project.
Once your retaining wall is reinforced with deadmen and tiebacks, it’s time to focus on the fastening and finishing touches. These steps ensure your wall is not only strong but also looks great and lasts for years.
Gone are the days of struggling with sledgehammers and spikes. Enter Simpson StrongTie 10in Timber Screws—a modern and efficient solution for fastening landscape timbers. These screws are exterior-grade and require no pre-drilling, making the installation process much smoother.
When building your wall, pay attention to how the seams are arranged. Staggered seams not only add to the wall’s aesthetic appeal but also improve its structural integrity.
To extend the lifespan of your retaining wall, consider sealing the timbers. This step is crucial in protecting the wood from moisture, which can lead to decay over time.
By focusing on these fastening and finishing touches, you ensure your timber retaining wall is both strong and visually appealing. With the right screws, a thoughtful seam pattern, and proper sealing, your wall will stand as a testament to your craftsmanship and attention to detail.
Next, we’ll dive into some frequently asked questions about building timber retaining walls to address any lingering uncertainties you might have.
Building a retaining wall with landscape timbers can be a cost-effective and rewarding project. Below, we address some common questions to help guide you through the process.
Building a retaining wall with landscape timbers starts with careful planning and preparation. Here are some key steps to consider:
Using landscape timbers is often the most affordable option for building a retaining wall. Here’s why:
Securing your timbers properly is crucial for the stability of your wall. Here are some methods:
By understanding these key aspects, you can confidently build a retaining wall that is both functional and aesthetically pleasing. Whether you are choosing materials based on cost or focusing on structural integrity, these tips will help you create a long-lasting landscape feature.
Building a retaining wall with landscape timbers is not just a project; it’s an opportunity to improve your outdoor space in a cost-effective way. At McLeod Landscaping, we specialize in changing landscapes across the Merrimack Valley with our comprehensive services. Whether you’re a homeowner looking to prevent soil erosion or simply wanting to add a touch of elegance to your garden, our team is here to guide you every step of the way.
With over 30 years of experience, our expertise in landscape design and installation ensures your retaining wall not only looks stunning but also stands the test of time. We focus on every detail, from setting the first course of timbers to ensuring proper drainage, so you don’t have to worry about the structural integrity of your wall.
Our services extend beyond just building retaining walls. We offer a full range of landscaping solutions, including patios, firepits, outdoor kitchens, and more. Our commitment to quality craftsmanship and customer satisfaction has made us a trusted name in Tewksbury, MA, and the surrounding areas.
If you’re ready to lift your landscape with a custom retaining wall, contact McLeod Landscaping today. Let us help you bring your vision to life with our expert design and installation services. Whether it’s a small residential project or a large commercial endeavor, we’re here to deliver exceptional results custom to your needs.
Contact McLeod Landscaping today at (978) 640-0957 or click here to schedule a consultation for retaining wall installation. Let our experienced team design and install a functional and visually appealing retaining wall that enhances your landscape.

1881 Main St Unit 1, Tewksbury, MA 01876