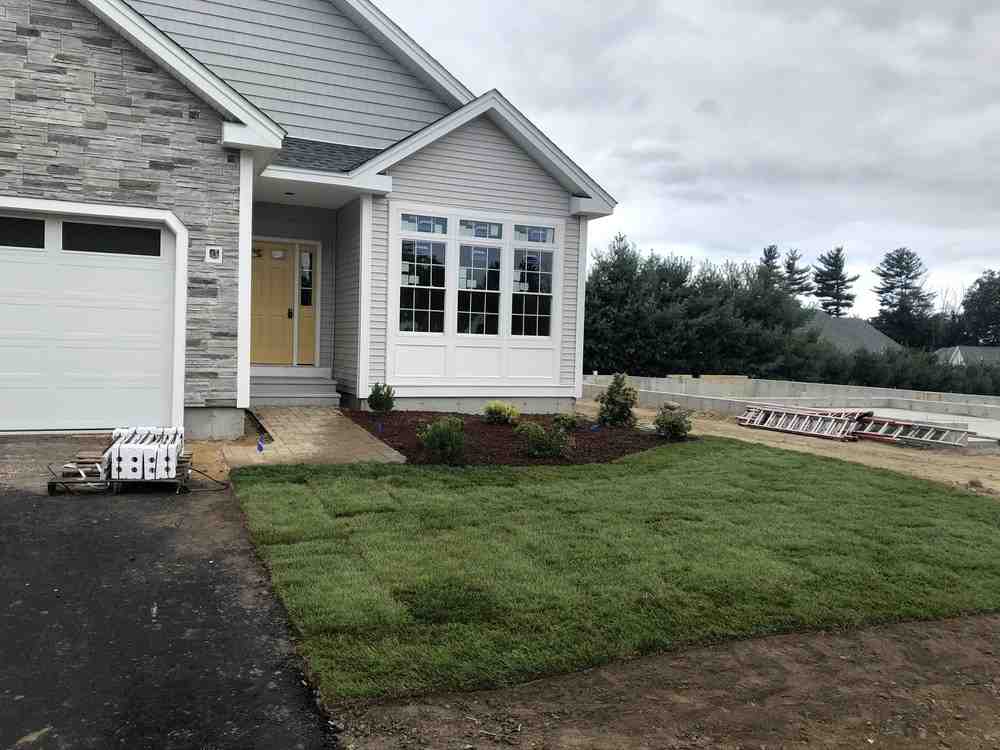
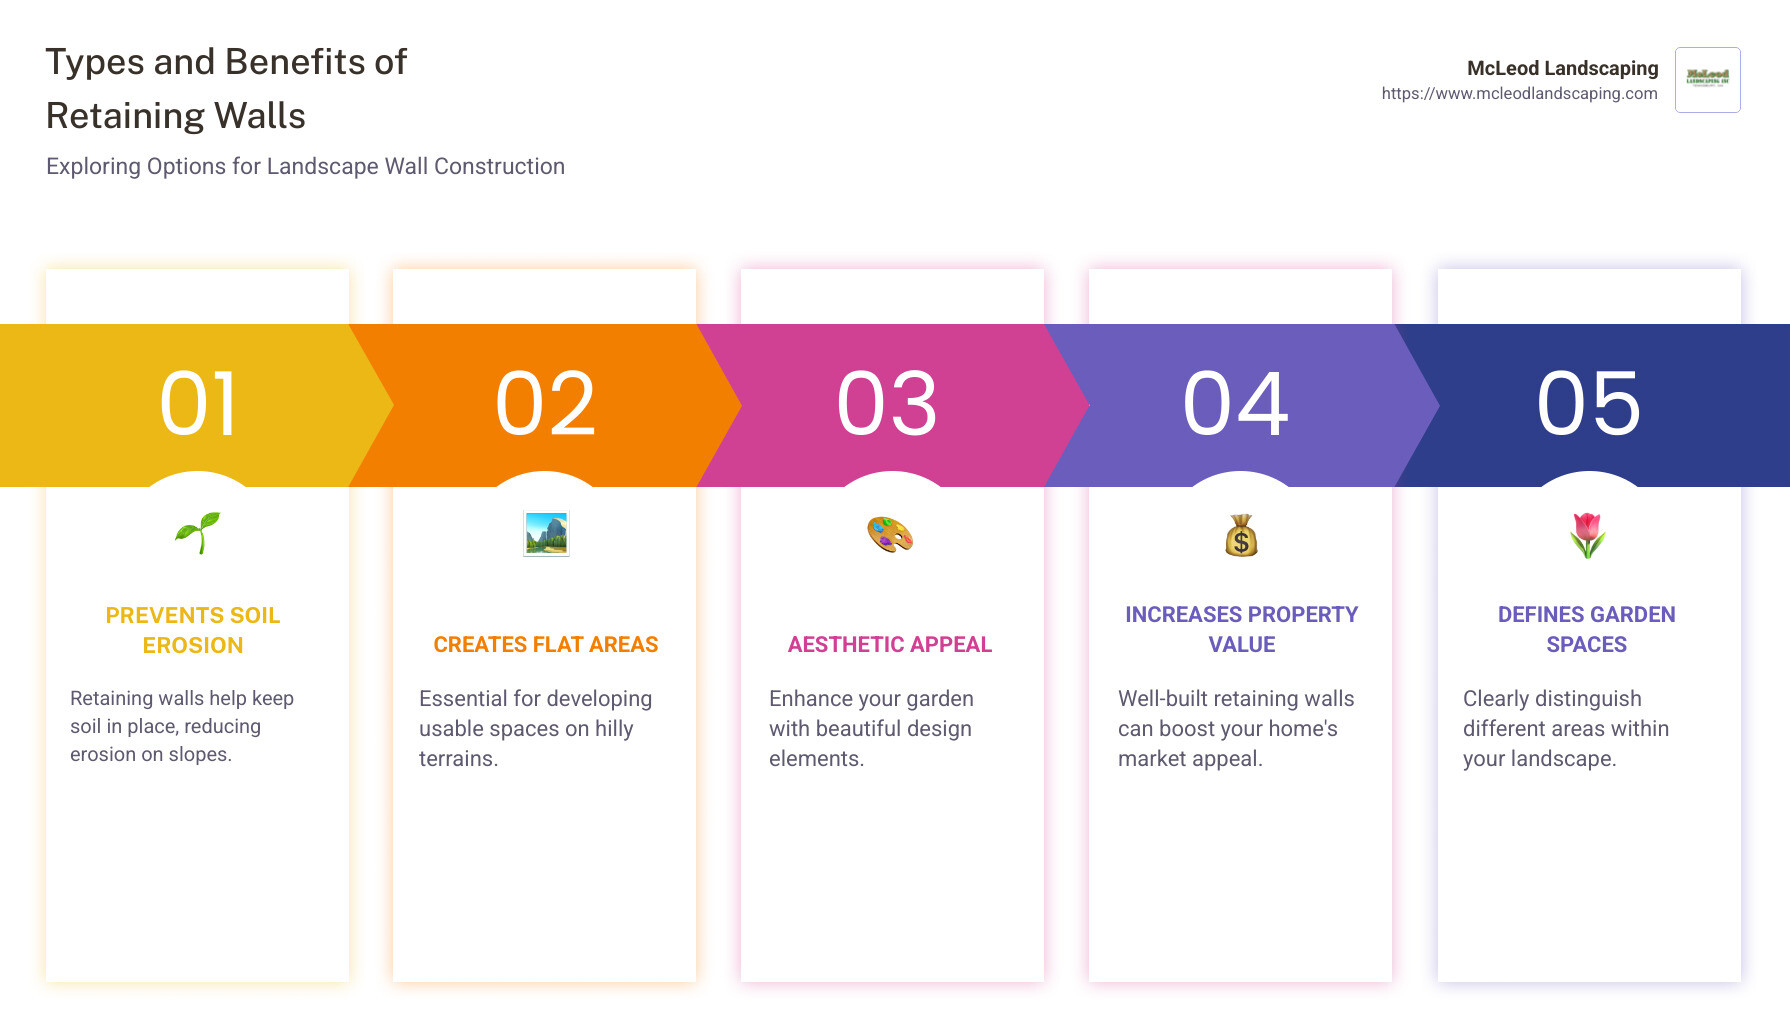
Landscape Wall Construction is an essential aspect of changing outdoor spaces, providing both visual appeal and functional benefits. Retaining walls improve landscape features, create level spaces, and prevent soil erosion.
As Scott McLeod, with over 30 years in the landscaping industry, I’ve honed my expertise in Landscape Wall Construction to deliver stunning and sustainable results. My journey with McLeod Landscaping has solidified my commitment to creating exceptional outdoor spaces that fulfill client needs while enhancing property landscapes. Let’s explore the key planning considerations for your project.
Landscape Wall Construction basics:
– how do i build a retaining wall with landscape timbers
– landscape wall stone
– paver stones
When starting on a Landscape Wall Construction project, careful planning is crucial. This ensures your wall is not only beautiful but also functional and compliant with local regulations.
Selecting the appropriate materials is a key step in building a successful landscape wall. Here are some popular options:

Before you start digging, understand the local rules and regulations:
By carefully planning your Landscape Wall Construction, you can create a stunning and functional addition to your outdoor space. With the right materials and adherence to local regulations, your retaining wall will provide both beauty and practicality for years to come.

Next, we’ll explore the step-by-step process of building your landscape wall, from trench excavation to block laying.
Building a Landscape Wall is a rewarding project that improves your outdoor space. Let’s walk through the process step-by-step, from digging the trench to laying the blocks.
1. Trench Excavation
Start by marking the outline of your wall with ground-marking spray paint. This will guide your digging. Use a trenching shovel to excavate the trench. The trench should be twice as wide as a single block and deep enough to bury at least half the height of your first course of blocks plus 3 inches of paver base. Depending on your block size, this could mean digging 4 to 8 inches deep.
2. Base Preparation
Once the trench is dug, it’s time to prepare the base. Remove any loose fill or topsoil, as these can cause the wall to settle unevenly. Use a hand tamper or a jumping jack ramming compactor to compact the bottom of the trench. Lay down a landscape filter fabric to prevent soil from mixing with the gravel base.
Next, pour 4 to 8 inches of gravel into the trench. The gravel should be free-draining, with particles ranging from 3/8” to 3/4” (ASTM No.57). Compact the gravel using a plate compactor to create a solid foundation.
1. Leveling Blocks
Begin laying the first course of blocks at the lowest end of the trench. Use a 4 or 6-foot level to ensure the blocks are level end-to-end and a torpedo level for front-to-back leveling. Adjust as needed by adding or removing base material.
2. Gravel Backfill and Drainage
After positioning the first course, fill the space between the wall and the landscape with gravel. This provides stability and aids in drainage, preventing water pressure build-up which can damage the wall.
Consider placing a perforated drainage pipe behind the wall, especially in areas prone to heavy rainfall. Cover it with a drain sleeve to prevent clogging and ensure it drains to a lower area of the property.
1. Staggered Blocks
As you lay additional courses, ensure the blocks are staggered. This means the end of one block should align with the middle of the block below it. Staggering adds strength to the wall.
2. Adhesive Use
While not always necessary, using a landscape adhesive between courses can add extra stability. This is particularly useful for capstones or in areas with frequent freeze-thaw cycles.
3. Drainage Pipe Installation
If you haven’t already installed a drainage pipe, now is the time. Ensure it runs the length of the wall and drains away from the wall area. Cover it with gravel to aid in water flow.
By following these steps, you’ll build a landscape wall that is both beautiful and functional. Next, we’ll explore how to add the finishing touches to your wall, enhancing its aesthetic appeal and integrating it seamlessly into your landscape.
Now that your Landscape Wall Construction is complete, it’s time to add those finishing touches that will make it truly stand out. This section will guide you through adding aesthetic elements and integrating greenery to blend your wall seamlessly into your outdoor space.
Capstones are the crowning glory of your wall. They not only provide a finished look but also protect the wall from rain and debris. Choose capstone blocks that complement the color and texture of your wall.
Construction Adhesive
Applying construction adhesive between the capstones and the top layer of blocks is crucial. This adhesive acts as a binding agent, securing the capstones in place and preventing them from shifting over time.
Landscaping Ideas
Improve the beauty of your wall by considering these landscaping ideas:
Plants can transform your landscape wall from a functional structure into a vibrant garden feature. Here’s how to integrate greenery effectively:
Flower Beds
Create flower beds at the base or top of the wall. Choose plants that thrive in your local climate for best results.
Climbing Plants
Climbing plants can add vertical interest and soften the appearance of your wall.
Succulents
For a modern and drought-tolerant option, integrate succulents into your wall design.
By incorporating these finishing touches and greenery, your landscape wall will not only serve its functional purpose but also improve the overall aesthetic of your outdoor space.
Next, let’s address some common questions about Landscape Wall Construction to ensure you’re fully informed before starting your project.
When it comes to DIY Landscape Wall Construction, choosing the right materials is crucial for both durability and aesthetics. Concrete retaining wall blocks are a popular choice due to their strength and ease of use. They are designed to interlock, which makes them ideal for beginners. Natural stones offer a more rustic look and blend well with natural surroundings, but they may require more skill to install. Interlocking blocks are another great option as they provide stability and are available in various styles to suit your landscape design.
Proper drainage is essential to prevent water buildup, which can cause the wall to shift or collapse. Here’s how to ensure effective drainage:
Whether you need a permit for your retaining wall depends on local regulations and the wall’s height. Generally, walls over a certain height (often around 4 feet) require a permit. It’s essential to check with your local building department or homeowners association (HOA) for specific requirements in your area. They can provide guidance on building codes, safety guidelines, and any necessary approvals to ensure your project is compliant.
Now that we’ve covered some common questions, you’re well-equipped to start your Landscape Wall Construction project with confidence.
At McLeod Landscaping, we believe that a well-constructed landscape wall can transform your outdoor space into a functional and beautiful extension of your home. With over 30 years of experience, we offer comprehensive services in the Merrimack Valley, covering everything from landscape design to installation and maintenance.
Our expertise in Landscape Wall Construction ensures that each project is executed with precision and care. We handle every aspect, from planning and material selection to ensuring compliance with local regulations. Our team is dedicated to using high-quality materials and sustainable practices, ensuring that your landscape wall is both durable and environmentally friendly.
Whether you’re looking to improve your garden with a stunning retaining wall or need a solution for erosion control, McLeod Landscaping is here to help. We are proud to serve the communities of Andover, Billerica, Burlington, Carlisle, Chelmsford, Concord, Lowell, Tewksbury, Westford, and Wilmington, MA.
Ready to transform your outdoor space? Find our retaining wall installation services and let us help you bring your landscape vision to life. With our commitment to excellence and customer satisfaction, we are here to make your landscape dreams a reality.
Contact McLeod Landscaping today at (978) 640-0957 or click here to schedule a consultation for retaining wall installation. Let our experienced team design and install a functional and visually appealing retaining wall that enhances your landscape.
1881 Main St Unit 1, Tewksbury, MA 01876